OBS MIDI Hotkeys: Control Your Stream with a MIDI Controller
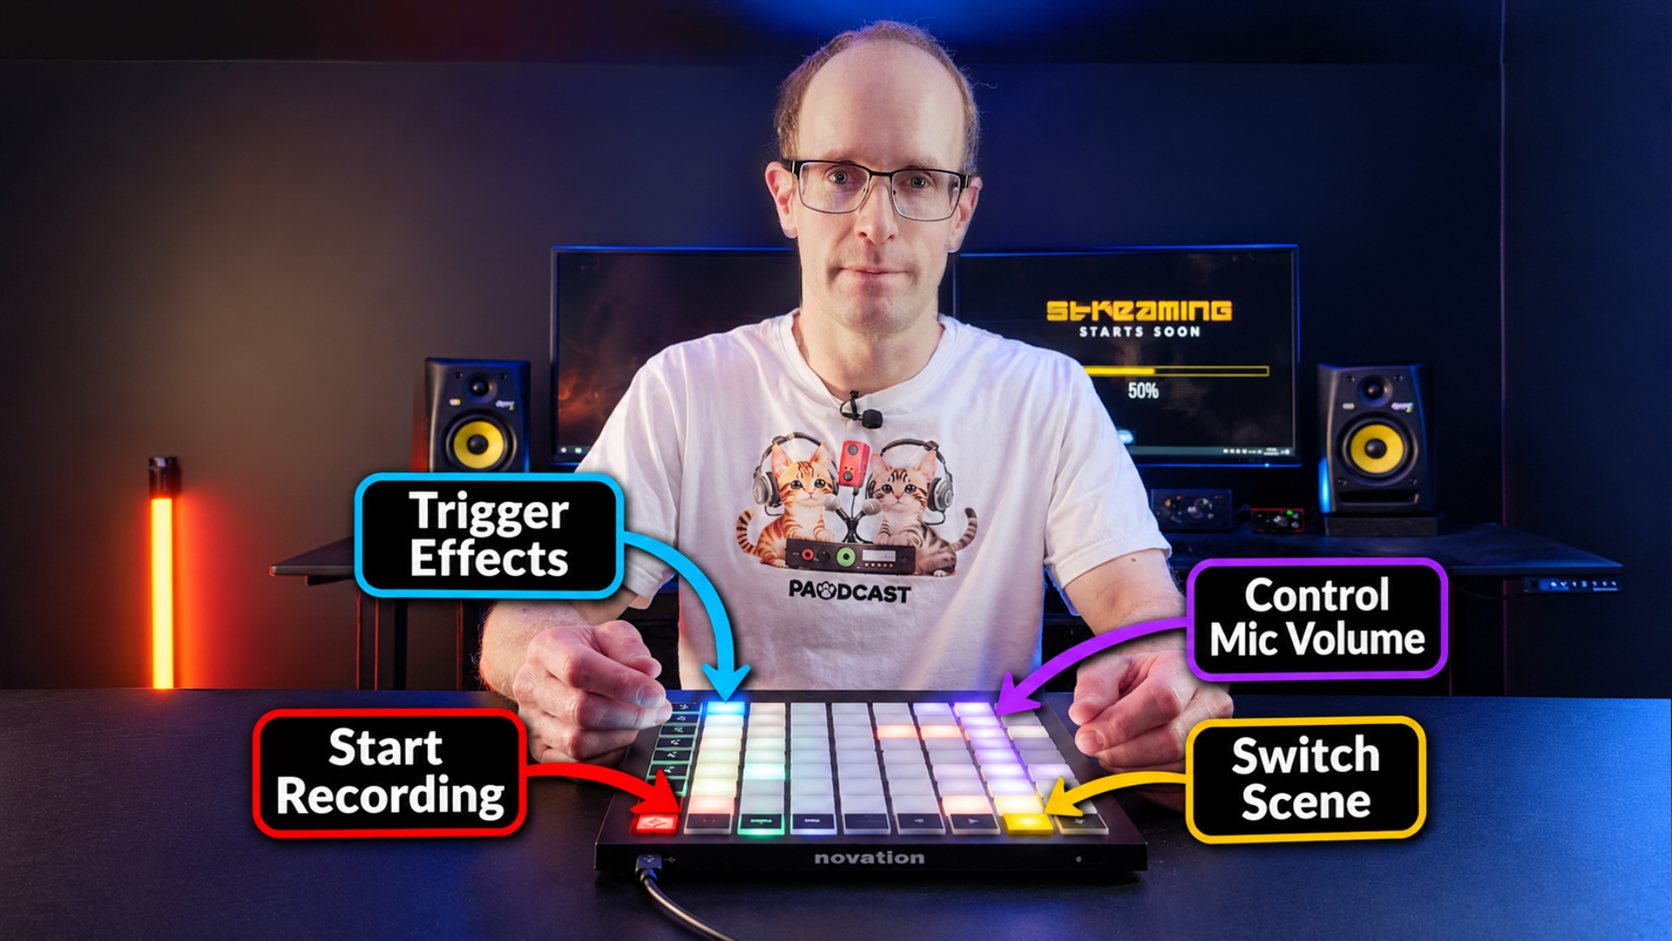
Streaming requires a continuous sequence of small, time-critical actions. Switch your scene. Mute your microphone before you cough. Show the "be right back" overlay. Start or stop the stream. You can do all of this in OBS via keyboard shortcuts, but they can be tricky to remember, especially if your hands are already busy playing a game, the guitar, or petting your cat.
A physical controller gives each of those actions its own tactile button. You press the button and the action happens - without having to look for a key combination mid-stream.
How it works
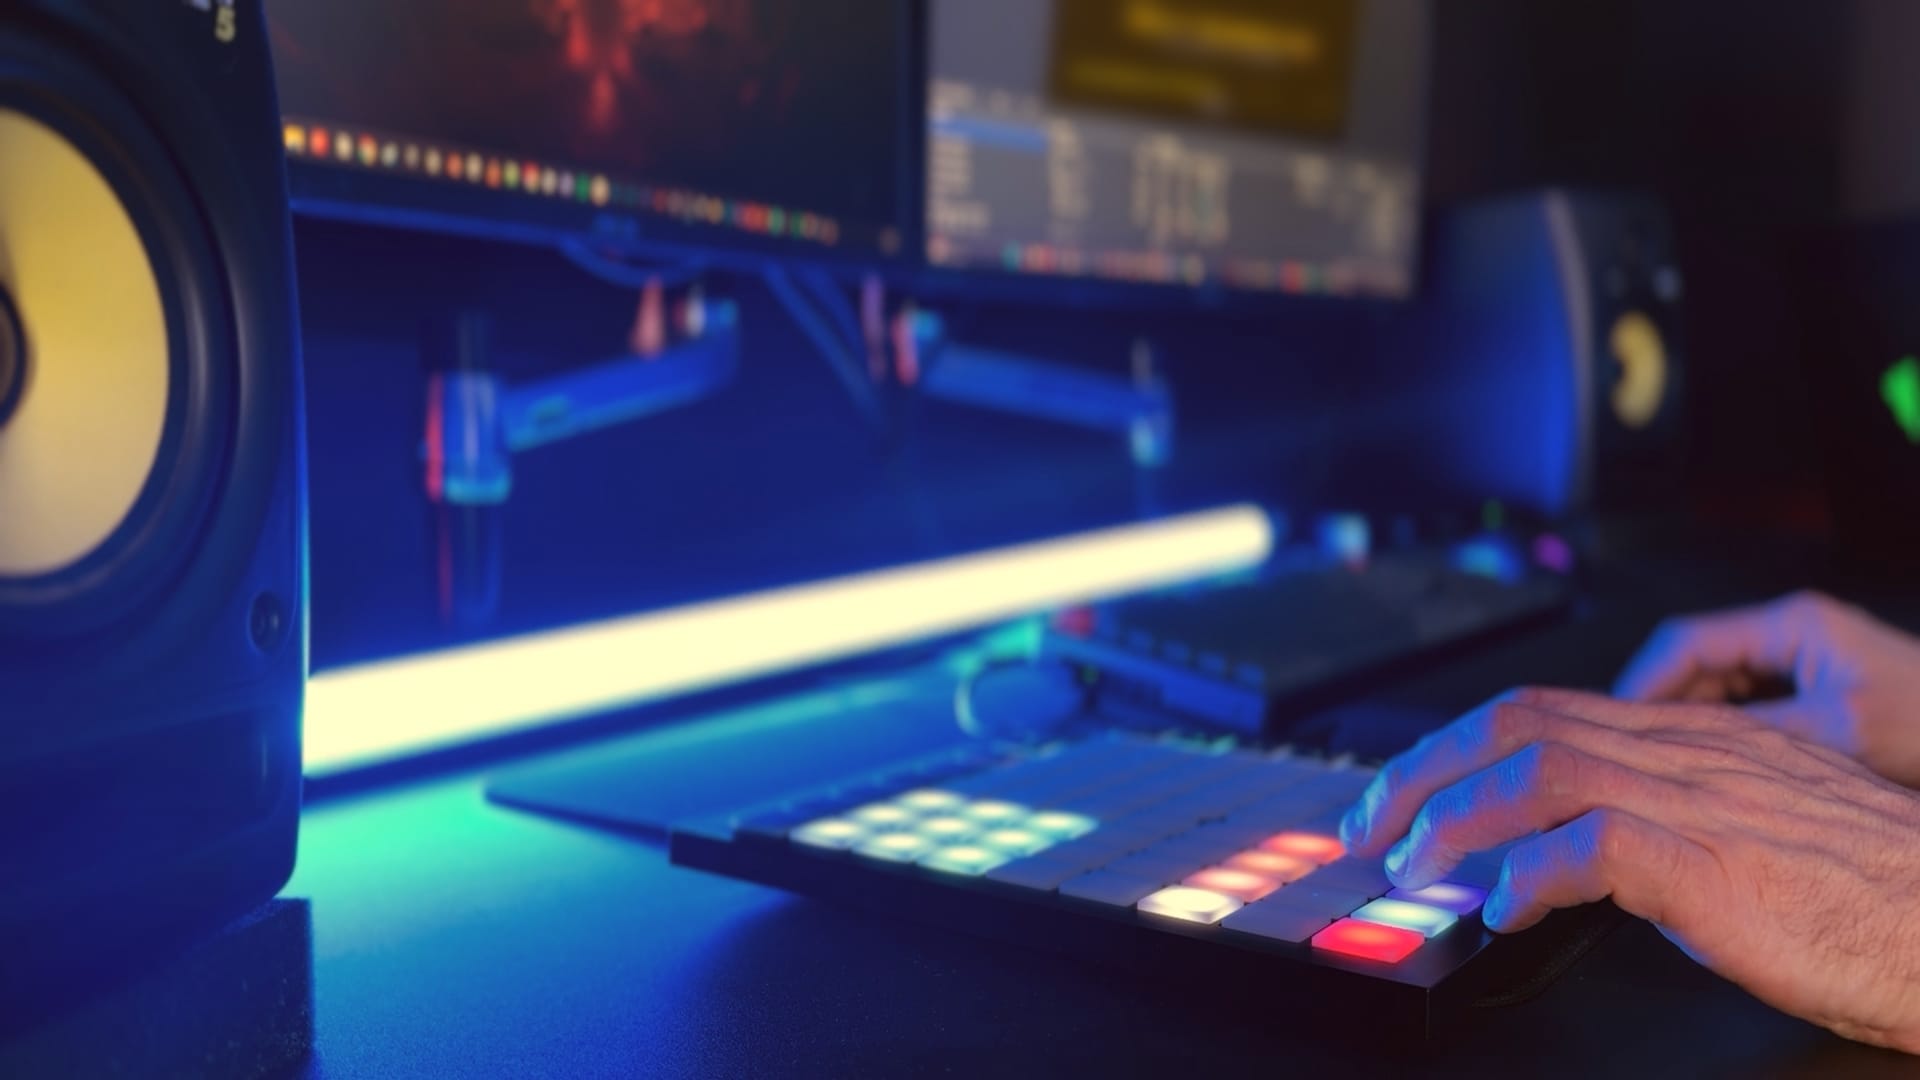
Midi2Macro runs in the background and listens for inputs from your MIDI controller. When you press a key or a pad, it fires the keyboard shortuct you assigned to it in Midi2Macro. OBS reacts exactly as if you had typed the shortcut yourself. Nothing to install inside OBS, no plugins, no scripting. The delay between the press and the scene change is far below anything you would notice on stream.
Hotkeys worth mapping first
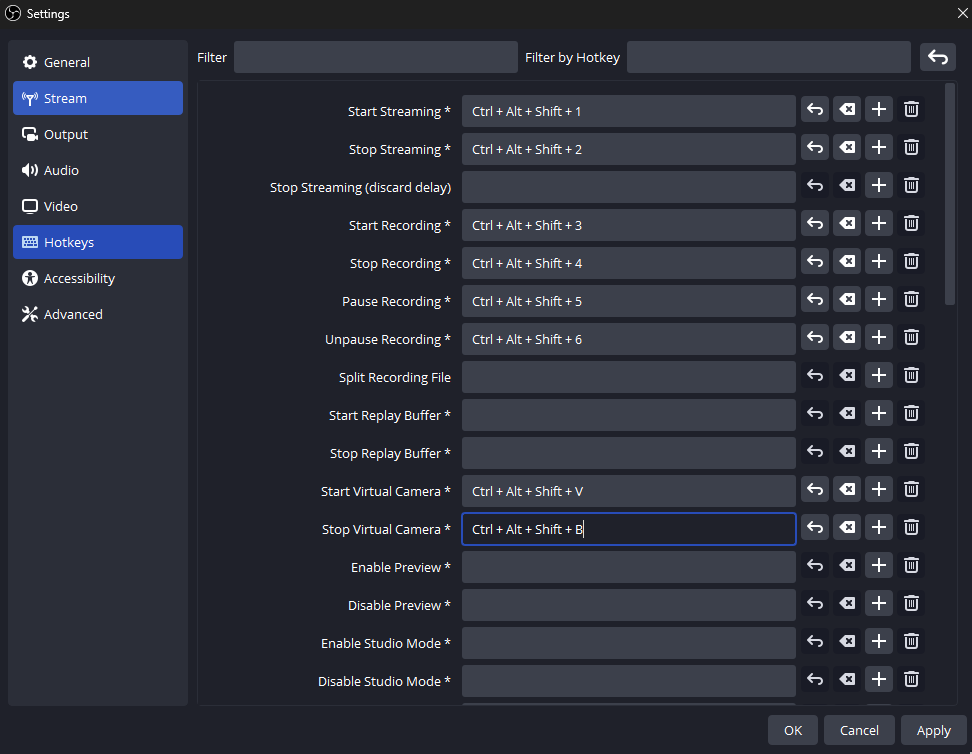
If you stream regularly, there's a handful of actions you likely use often. The key combinations below are of course just examples. The real ones are whatever you assign in OBS under Settings → Hotkeys.
| Action | Common shortcut |
|---|---|
| Scene 1 (main) | Ctrl+F1 |
| Scene 2 (camera) | Ctrl+F2 |
| Scene 3 (BRB) | Ctrl+F3 |
| Start/stop recording | Ctrl+Shift+R |
| Start/stop streaming | Ctrl+Shift+S |
| Mute mic | Ctrl+Shift+M |
| Push to talk | Space |
| Studio mode transition | Ctrl+T |
OBS ships with these unassigned, so you have to set them up yourself. It's usually easiest if you pick a pattern you can remember easily and keep it consistent across scenes.
Setup, start to finish
In OBS, open Settings → Hotkeys and assign keyboard shortcuts to the actions you want to control.
Plug in your MIDI controller. Most are USB class-compliant and need no drivers.
Open Midi2Macro. The app detects and shows your controller in the device list automatically.
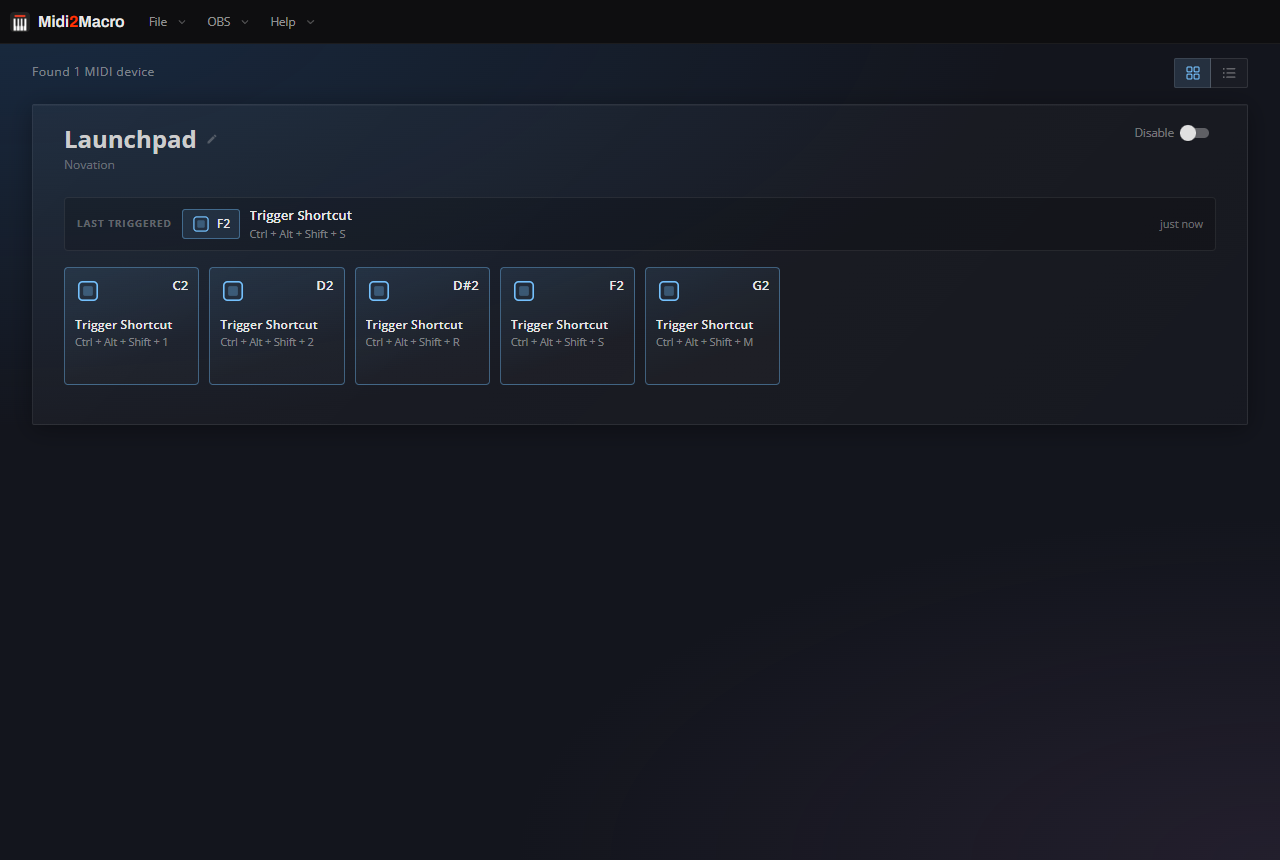
Press a key or a pad. Midi2Macro displays the incoming note.
Pick Trigger Shortcut as the action, record the same combination you set in OBS, and save.
Switch back to OBS and press the pad. The scene changes.
Skip the hotkeys: native OBS control in Midi2Macro 2.0
If you would rather not manage a second set of shortcuts inside OBS, Midi2Macro 2.0 connects to OBS directly over its WebSocket server. Instead of sending a keystroke, Midi2Macro tells OBS what to do: switch to a named scene, start or stop recording, toggle the virtual camera, show or hide a source, mute an input. You select the scene or source from a dropdown, so there is no shortcut to assign or remember on the OBS side.
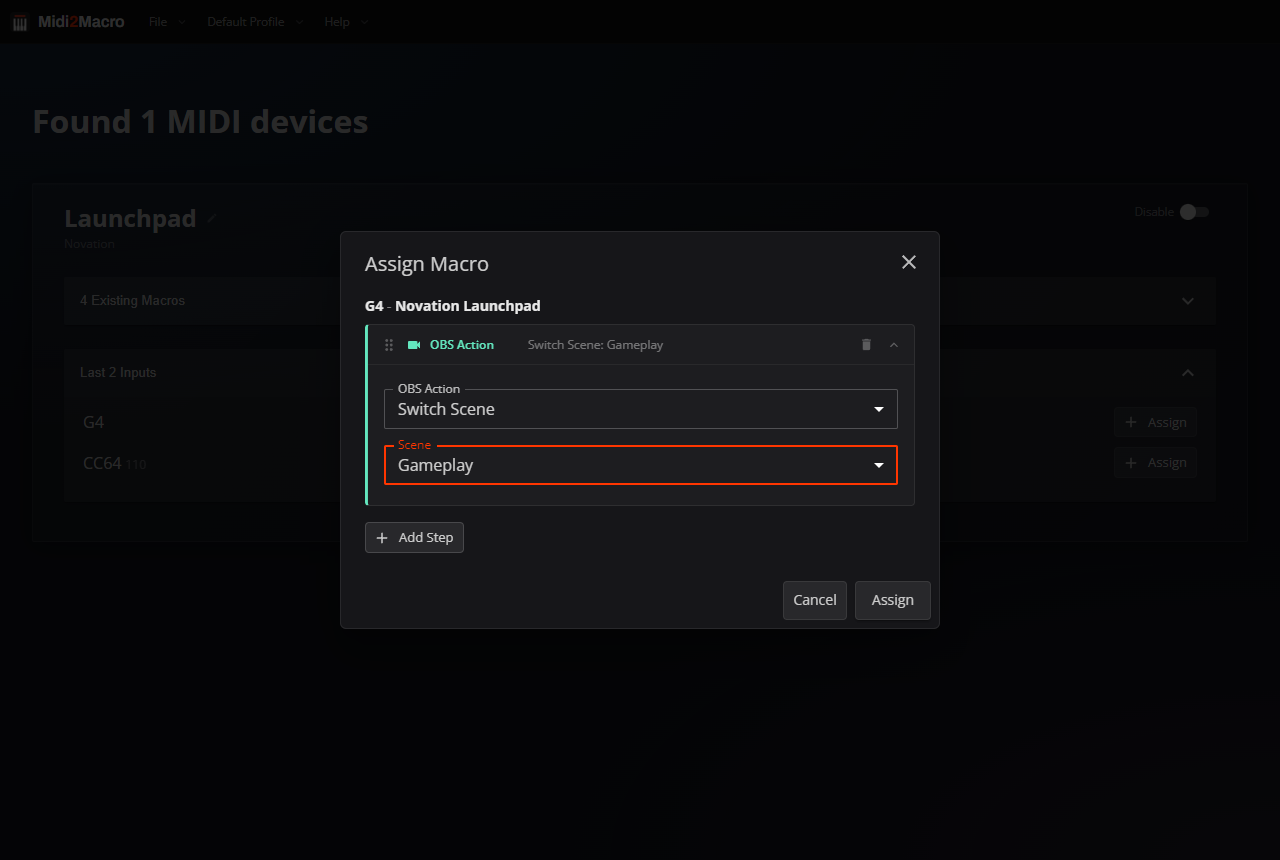
The hotkey method still has its place. It works with anything OBS can bind a shortcut to, including plugins and features that have no WebSocket equivalent. Many streamers mix the two: native actions for the common scene and recording controls and then use hotkeys for the edge cases.
Volume and faders
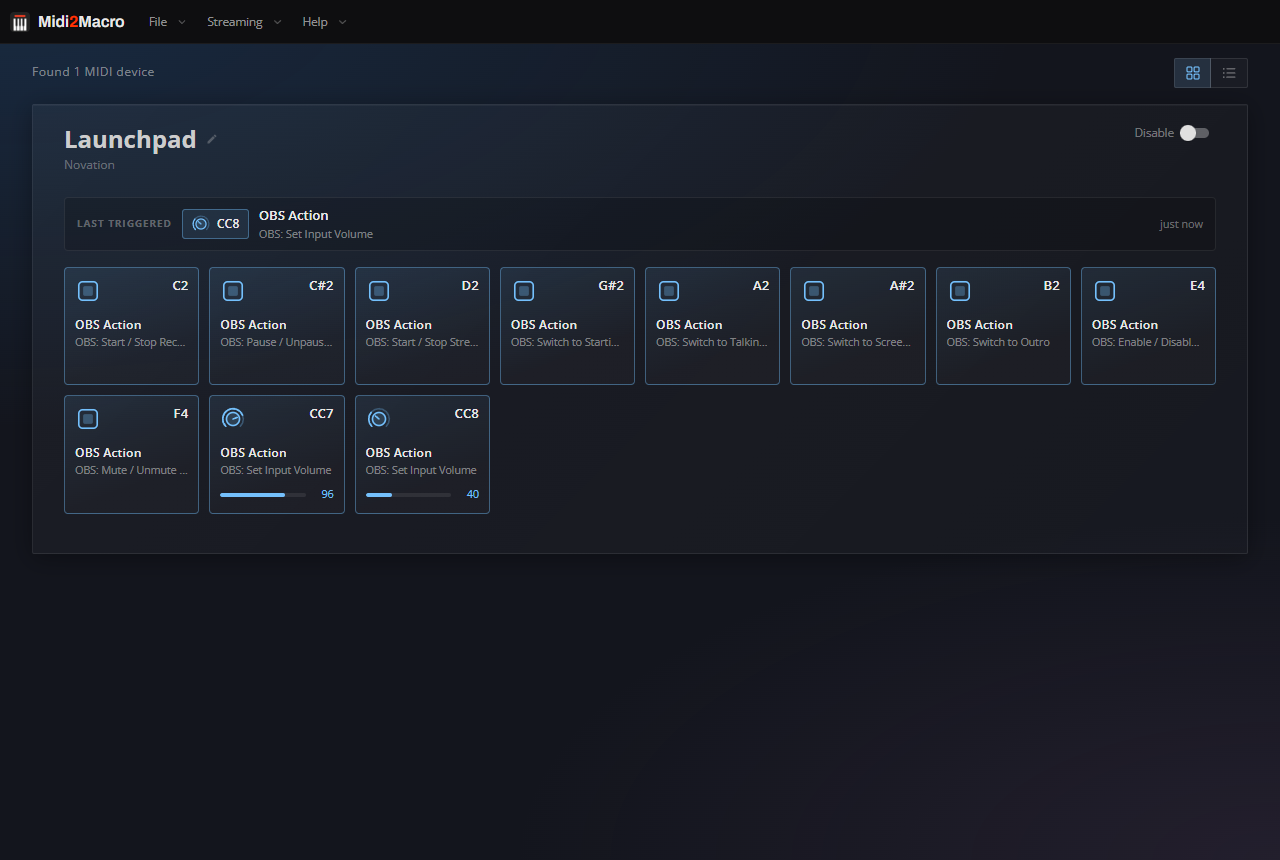
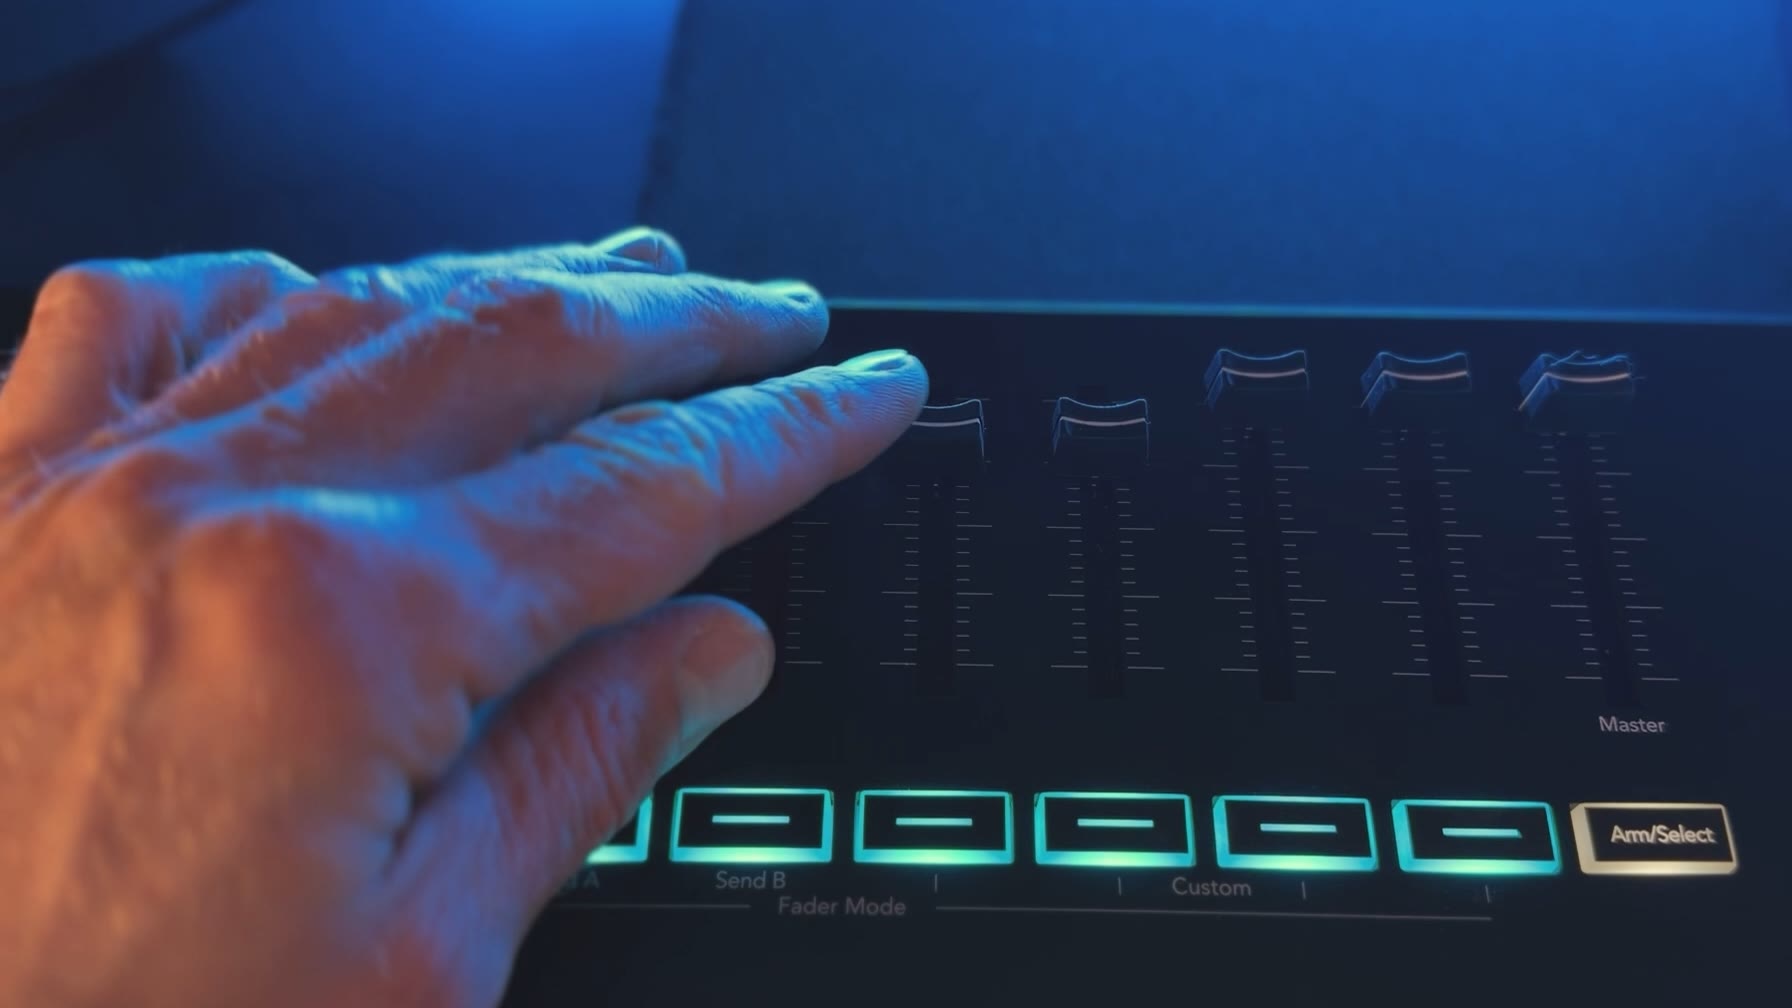
Most OBS macros are discrete actions: switch a scene, toggle mute, start a recording. Midi2Macro 2.0 added full support for CC (Control Change) messages, so you can now assign macros to knobs, faders and control buttons as well as keys and pads. You can read more about it in what's new in Midi2Macro 2.0.
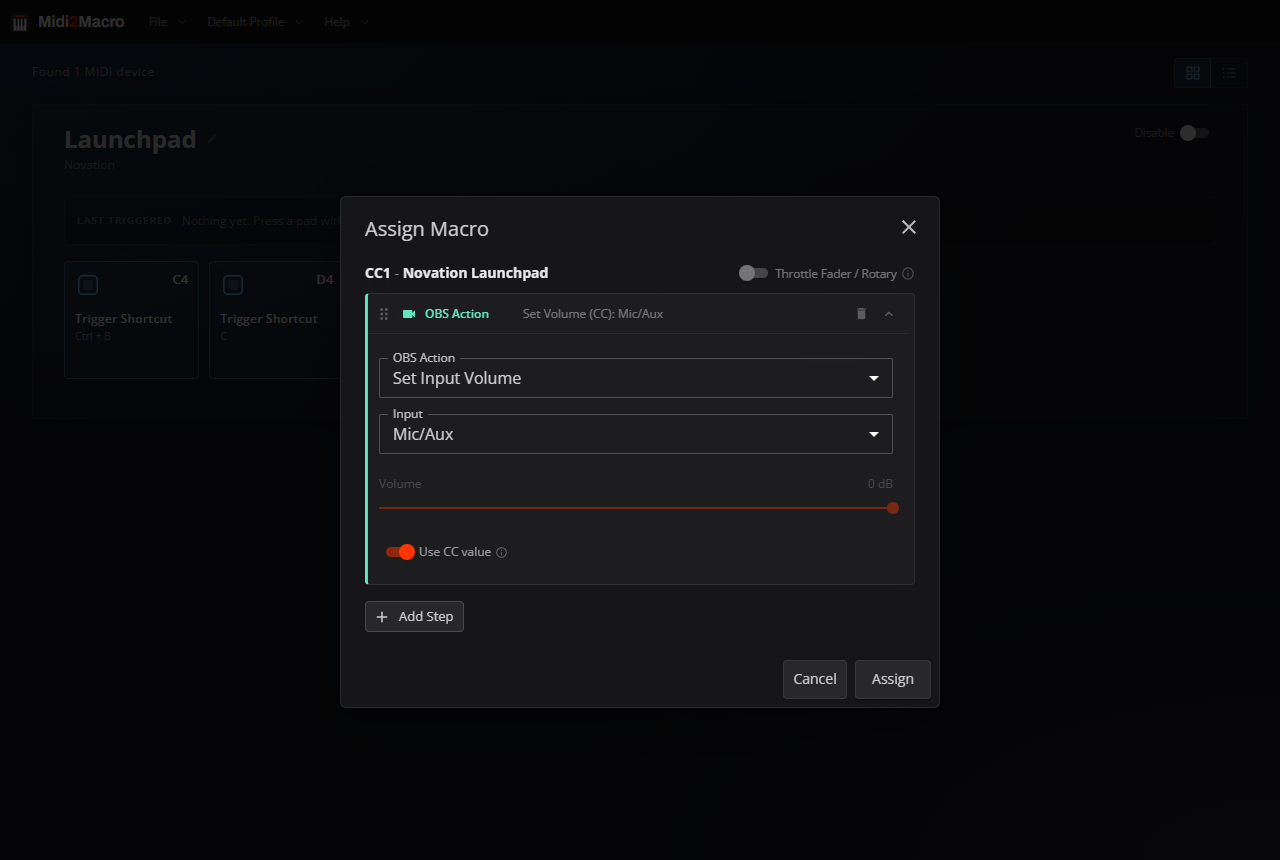
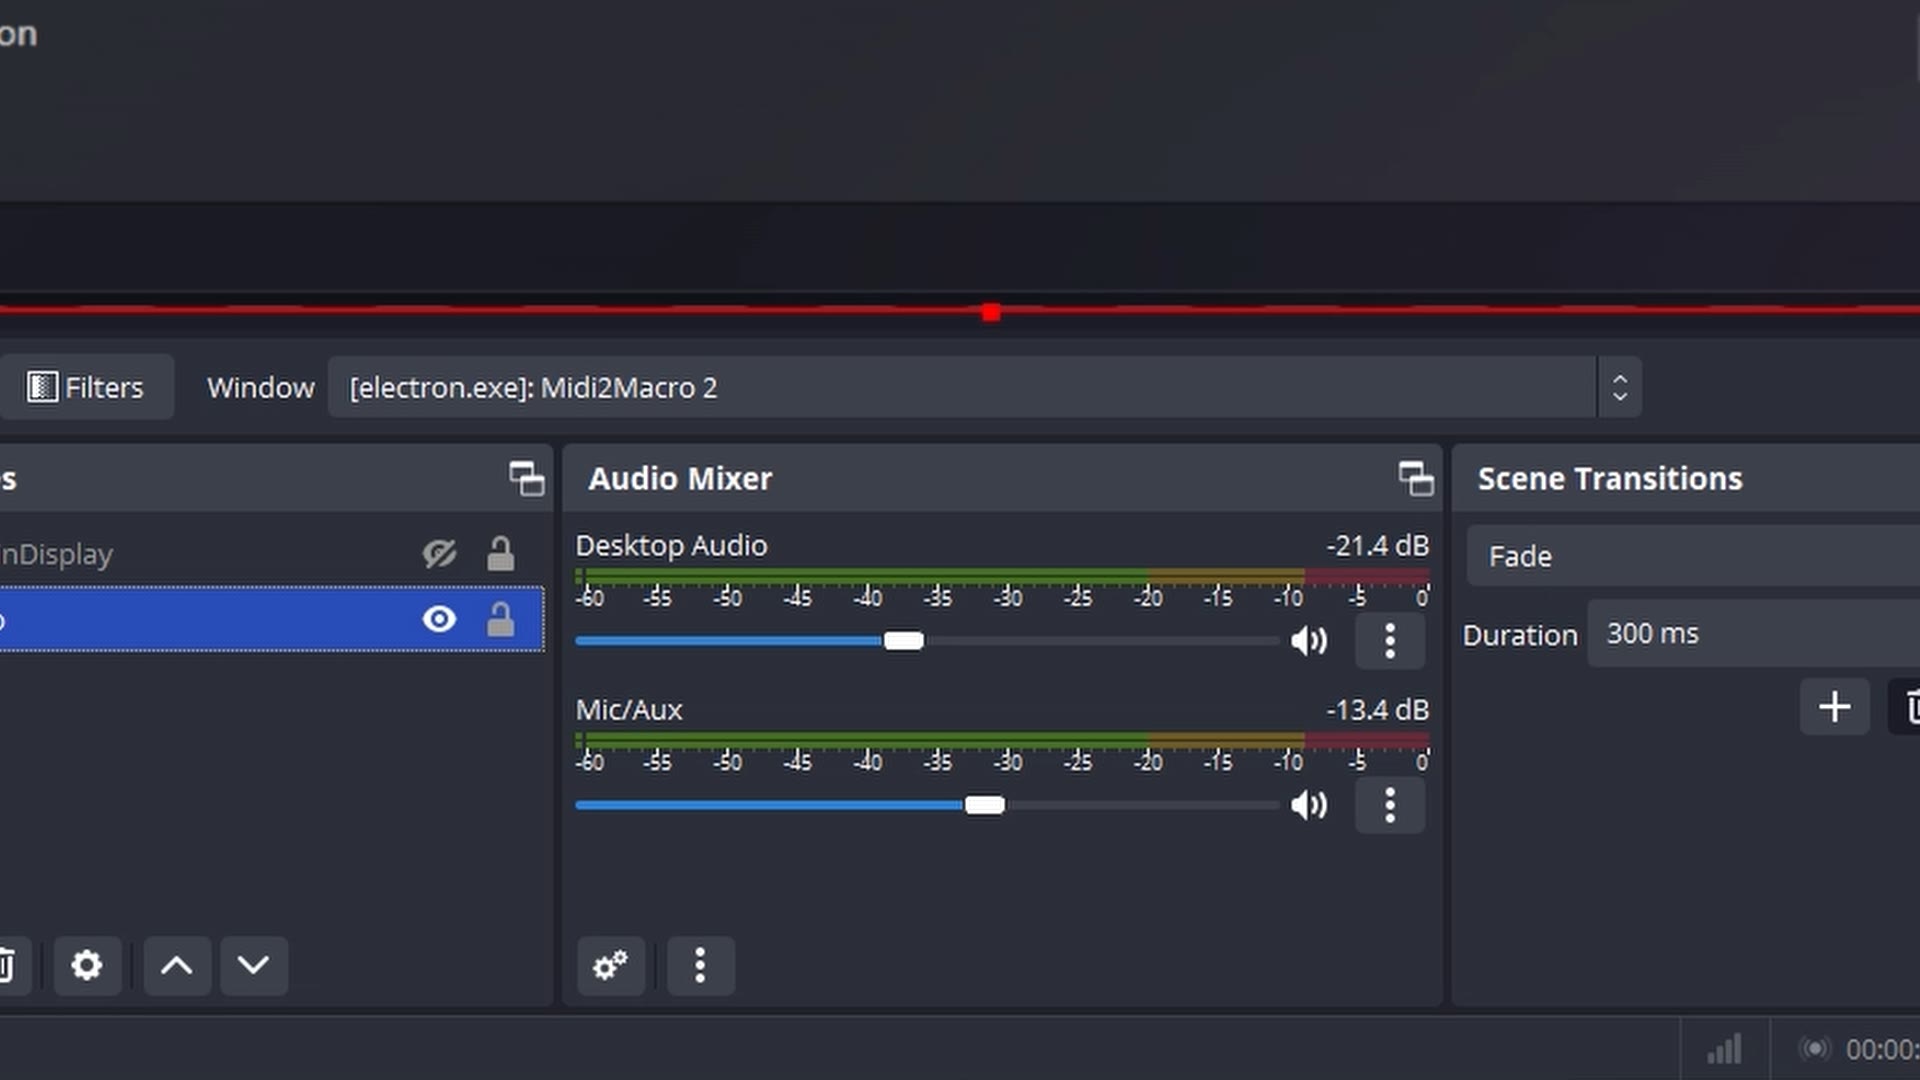
While support for continuous use of the CC Value parameter is limited at this time, you can hook it up to control the Input Volume of your audio devices directly within OBS. This way a physical fader can ride your mic or music volume in real time.
For one-off macros, a key or pad is still the recommended option.
Per-app profiles in version 2.0
If you stream and edit your videos on the same machine, Midi2Macro 2.0 offers per-app profiles that can help simplify your setup. You can build one profile for OBS and another one for your editor and Midi2Macro switches to the correct one based on which app is in focus. While in OBS your pads drive your scenes. While in DaVinci Resolve the same pads handle split, mark in, and mark out.
What you need
A MIDI controller with a USB output. Both the Novation Launchpad and Launchkey work great - and they are the devices I mainly use, but you can also use controllers such as the Akai MPK Mini, an LPD8, or any other MIDI keyboard you already own.
Midi2Macro is free for up to 5 macros, and the Pro version is a one-time $20 USD.